
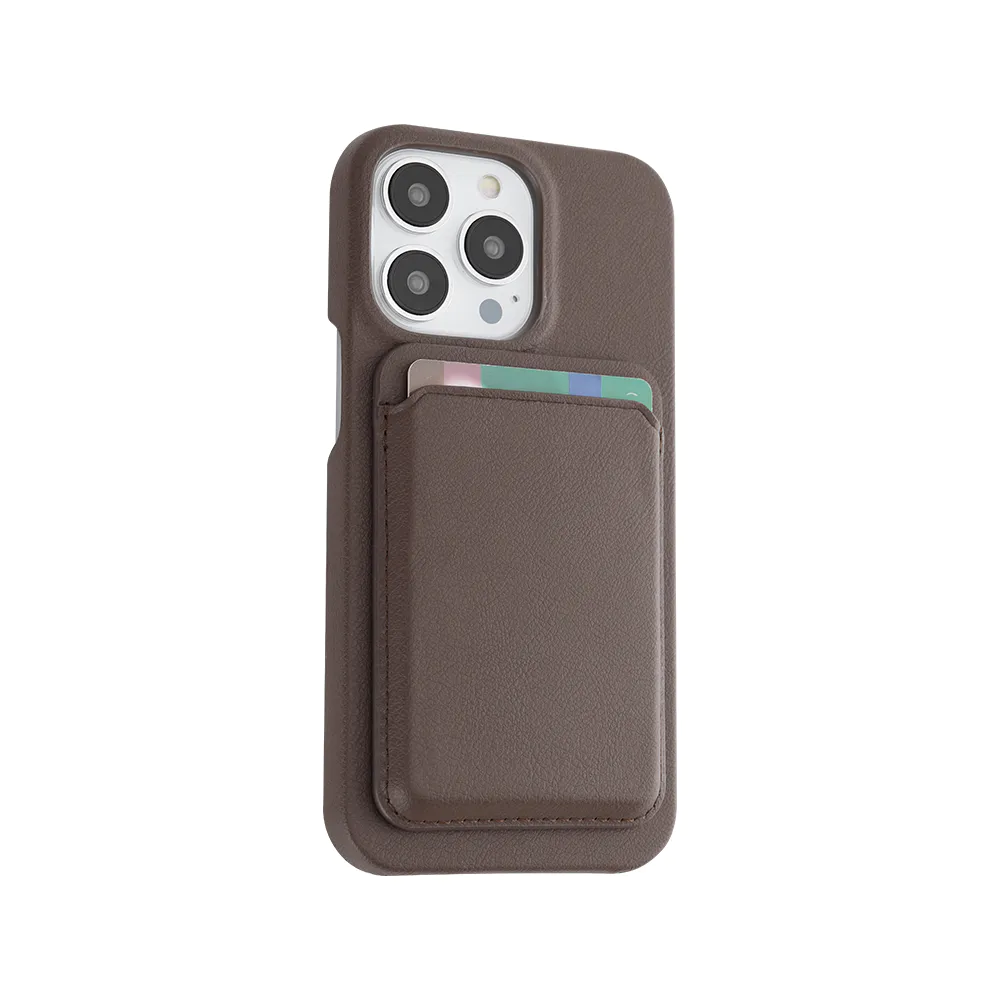
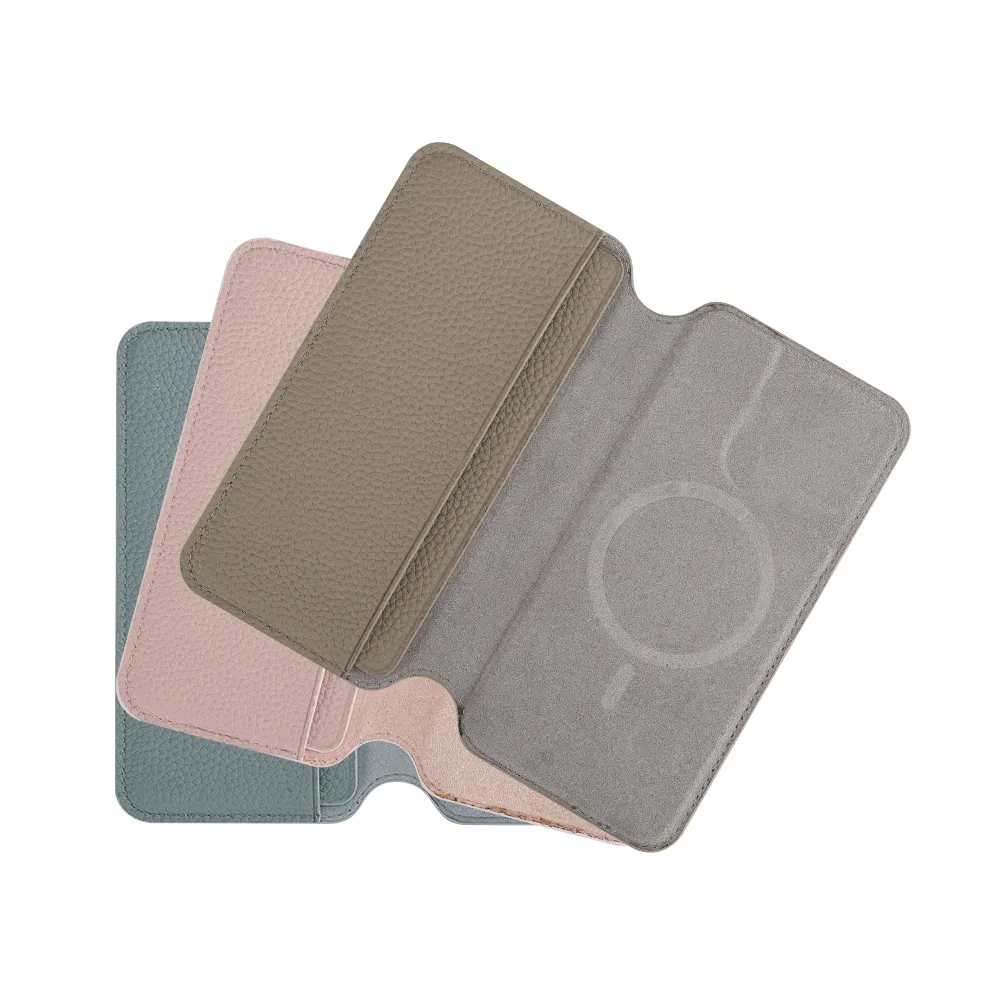
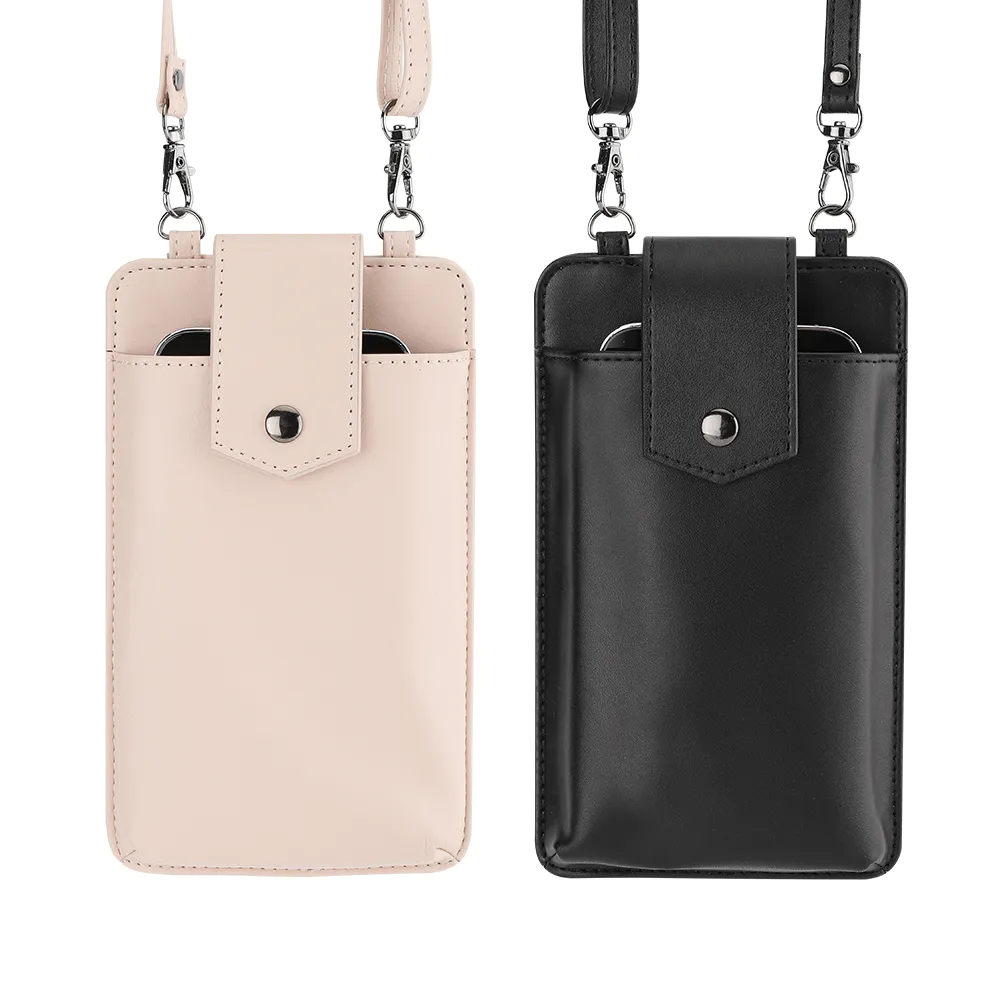
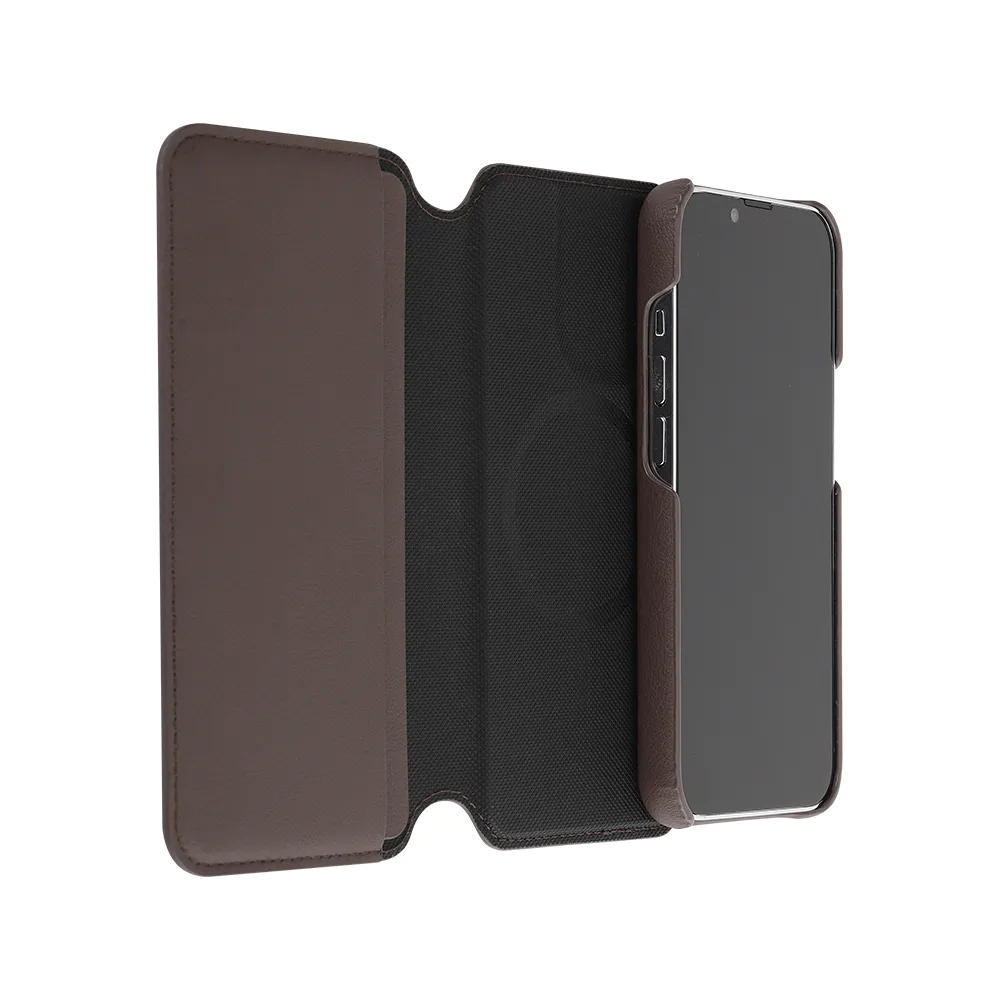
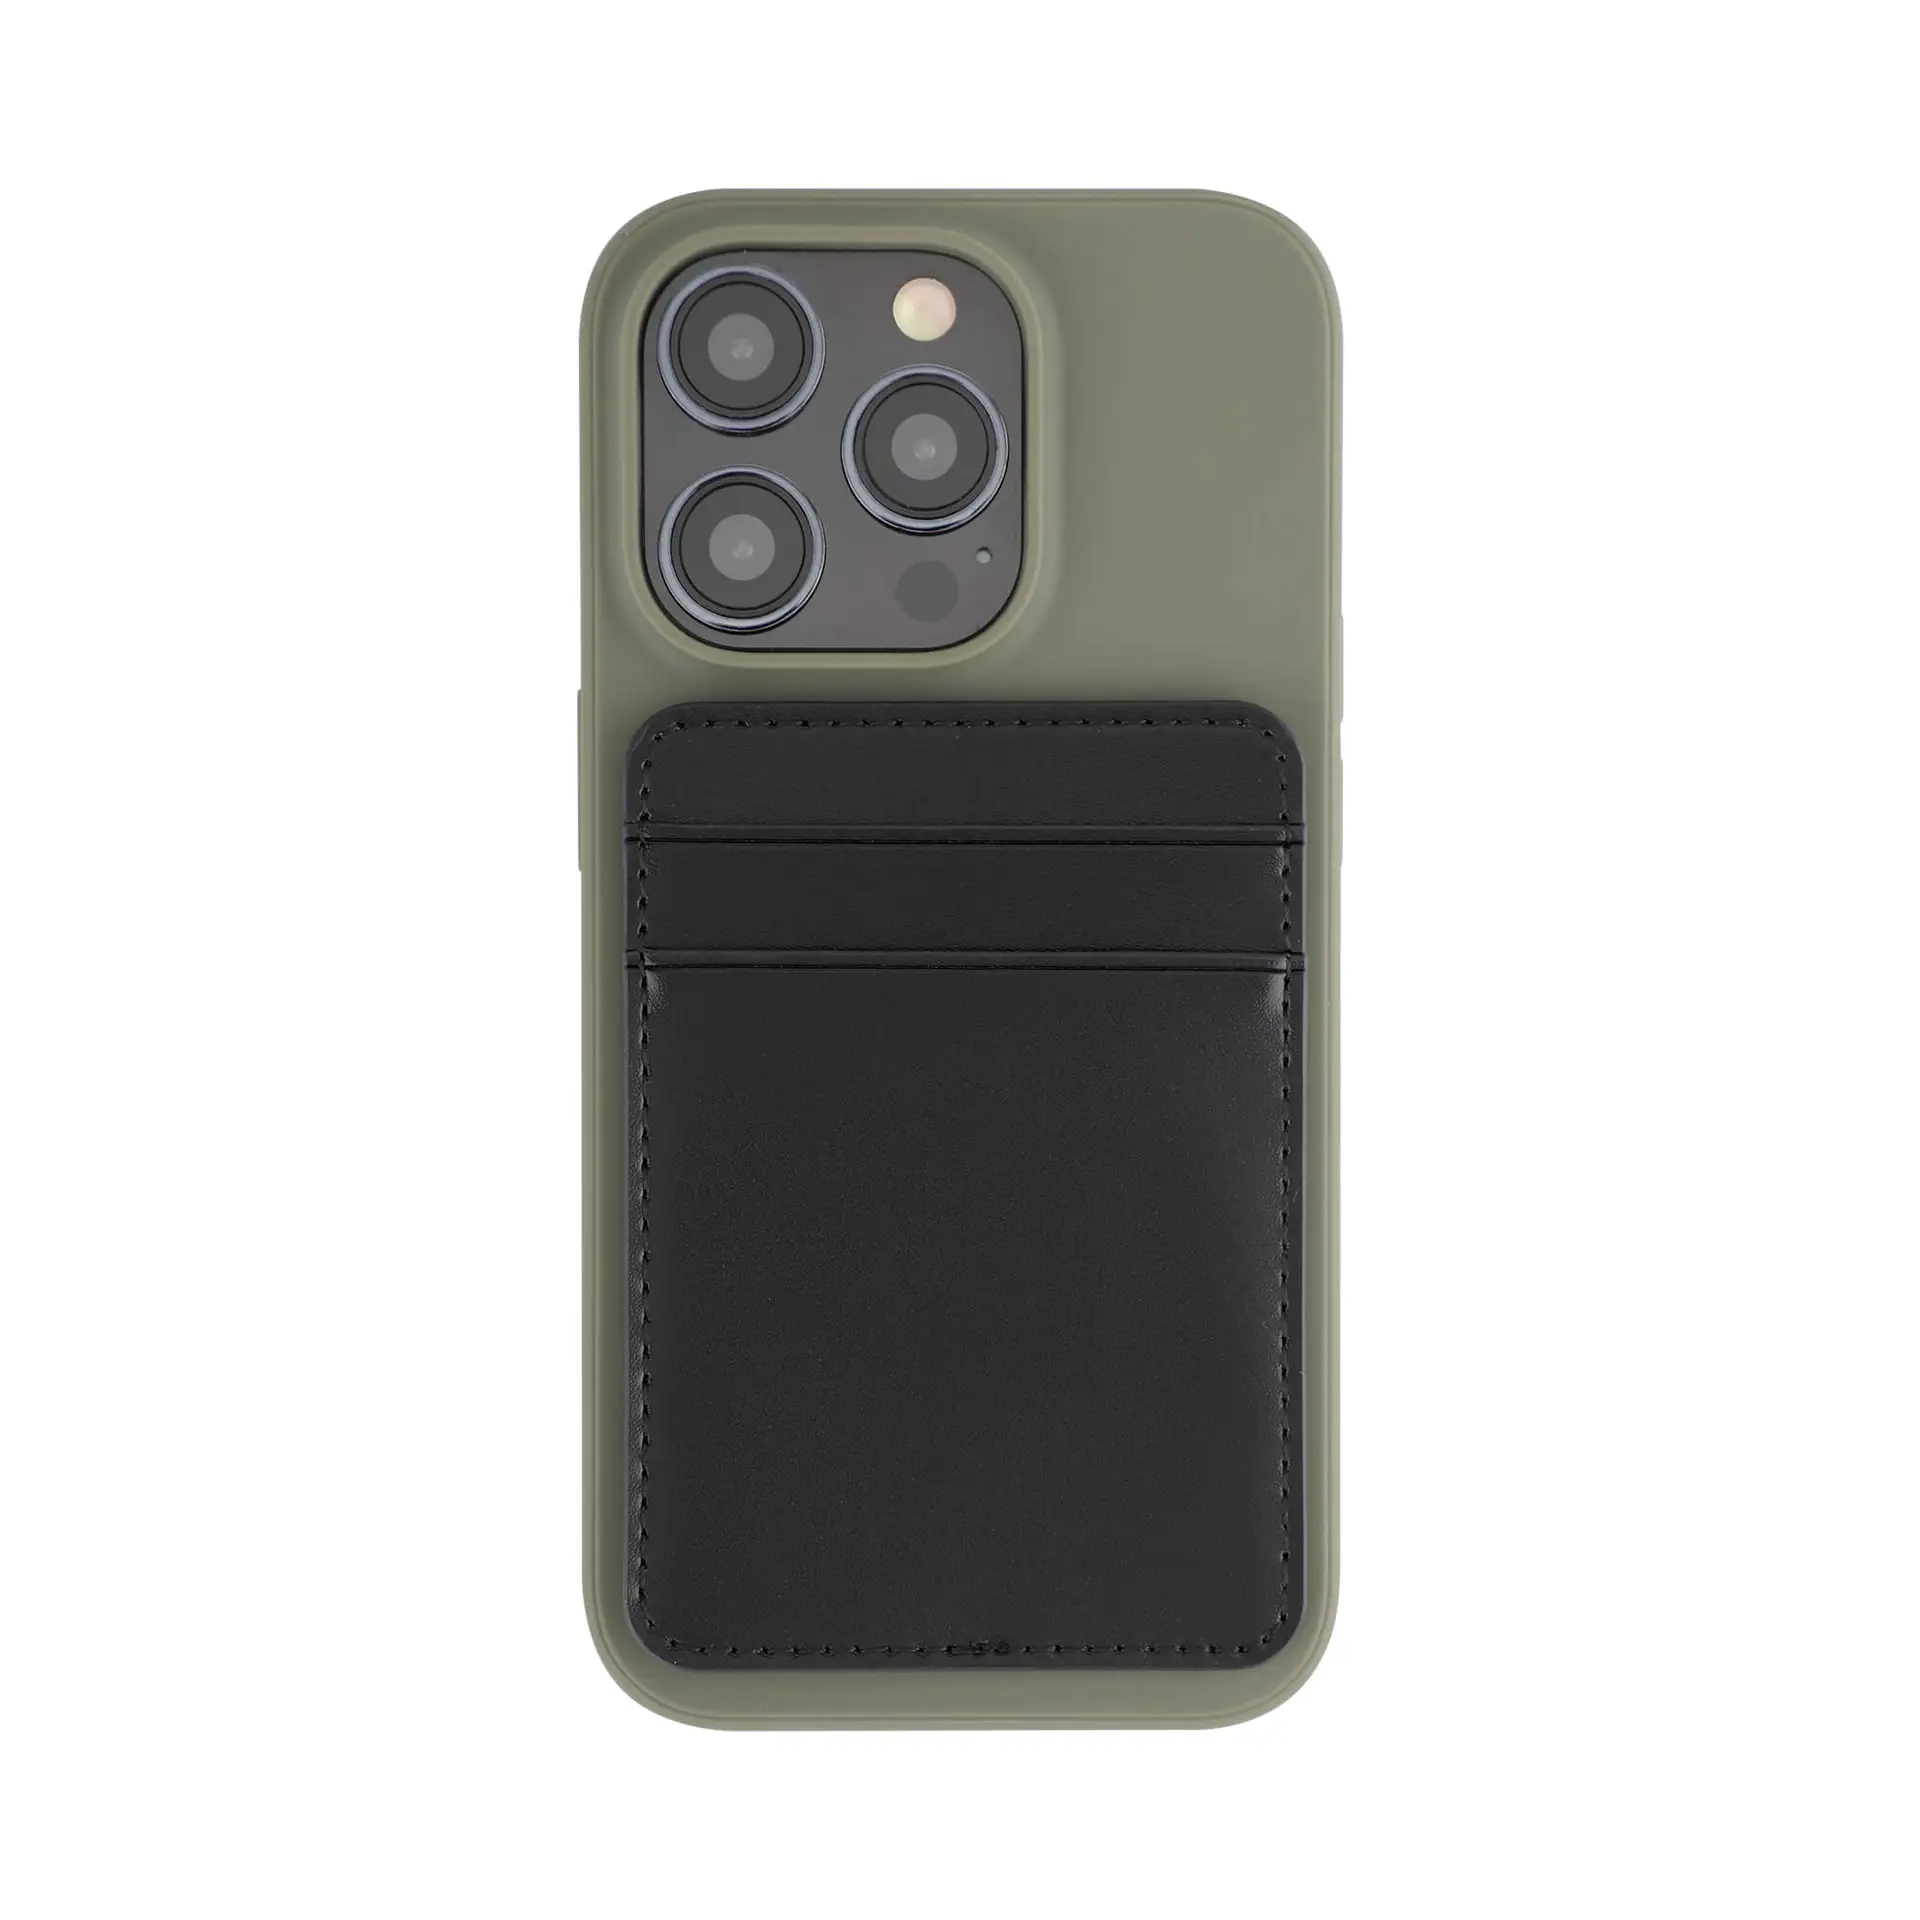
5 Incredibly Stylish Leather Cell Phone Cases to Purchase in 2024
how to customize laptop sleeve
by:Jolly
2023-07-15
Customize Your Laptop Sleeve: Make Your Device Stand Out from the Crowd!
Laptop sleeves are an essential accessory for people who carry their devices with them wherever they go. A laptop sleeve not only protects your device from scratches and other potential damages but also adds a personal touch to your device. In this article, we will show you how to customize your laptop sleeve, making it unique and stylish.
Subtitles:
1. Benefits of Personalized Laptop sleeves
2. Materials you need to customize your laptop sleeve
3. How to design your laptop sleeve
4. Ways to embellish your laptop sleeve
5. Finishing Up: Protect and Maintain your Laptop Sleeve
Benefits of Personalized Laptop Sleeves
Personalizing your laptop sleeve is an excellent way to add a touch of your personality to your device. It is also an excellent opportunity to showcase your creativity by creating unique designs, patterns, or graphics that reflect your style.
Apart from the aesthetic benefits, a personalized laptop sleeve can also address specific functionality needs. For instance, if you work in a professional setting, you can customize your laptop sleeve with a business-like style, including a sleek and straightforward design that will complement the environment.
Materials you need to customize your laptop sleeve
Before you embark on customizing your laptop sleeve, you need to have some materials at hand. They include:
- A plain laptop sleeve (preferably in neutral colors, such as black, gray, or white)
- Fabric markers, paint, or screenprinting ink
- Foam brushes
- Ruler/tape measure
- Stencils
- Adhesive vinyl sheets
- Scissors
- Iron-on patches
- Sewing machine/needle and thread (optional)
How to design your laptop sleeve
Designing your laptop sleeve is a creative process that requires some attention to detail. Some customization techniques you can employ include freehand drawing directly onto the sleeve using the fabric markers, painting with a brush, or using stencils.
To achieve the best results, sketch out your designs or ideas before you begin working on the sleeve. This way, you will have a rough idea of how the designs will appear on the sleeve's surface. You can then adjust your design accordingly using your preferred customization technique.
Ways to embellish your laptop sleeve
When it comes to embellishing your laptop sleeve, there are endless possibilities to choose from. You can add texture by sewing on fabric, incorporating sequins or beads, or creating a unique embroidered design.
You can also add some fun with adhesive vinyl sheets that come in various colors and patterns. Cut out the desired shape or design from the vinyl sheet and stick it onto the laptop shell. Alternatively, you can use iron-on patches, which serve the same purpose.
For a more personalized feel, incorporate photos or images that hold sentimental value to you. Consider using family vacation pictures, a significant life event, or your favorite artwork.
Finishing Up: Protect and Maintain your Laptop Sleeve
Once you finish personalizing your laptop sleeve, ensure that the designs are dry and set before using it to avoid smudging or fading. If possible, wash the sleeve sparingly in cold water to maintain the prints' vibrancy.
In addition, be mindful of how you handle the laptop sleeve - avoid sharp objects or surfaces that could snag, scratch or dent your device. Ensure that it is adequately padded to absorb potential impacts that could damage the device.
Conclusion
Customizing your laptop sleeve is an excellent way to make it unique and stylish while protecting your device. The process is simple and fun, with endless possibilities of designs to choose from. As with any customization project, using the right materials and techniques is essential for achieving the best results. Personalize your laptop sleeve today and stand out from the crowd!
Custom message
Related Products


 Sitemap